My daughter gave me this clear stamp set from Recollections last year for Christmas, and I had forgotten about it. What a fun surprise to find this year!--kind of like when you find the Christmas decorations you forgot you bought in the after-holiday sales. I used CTMH Slate cs for the card base (have I mentioned I LOVE this color?). The stamps are all colored with copic markers, and there are bits of Stardust Glitz and Liquid Pearls here and there. I like to outline images I color with my copies with my C1: Cool Gray marker. I think it gives the images a more finished look. The snowflakes across the bottom are stamped with CTMH's White Daisy pigment ink. They are actually on the inside flap of the card. I cut the front shorter than the back. The front stops at the bottom of the snow. The snow is torn on the horizon to make it look fluffier.
Welcome to My Blog!
Hi! Thanks for visiting! If you have a blog or other favorite website you'd like me to check out, let me know! And, please, comment on my posts--I'd like to hear from you.
--Ms. Molly
--Ms. Molly
Wednesday, November 14, 2012
Tuesday, November 13, 2012
Christmas Card: Bundled Buddies
I used some of my old CTMH "Jingle" papers again. This time with the cute "Bundled Buddies" stamp set. I colored the little fawn with copic markers. The snowflakes are punches. I added CTMH Stardust Glitz to the snow, trees, and snowflakes. I coated the ball on the hat with Liquid Pearls.
Christmas Card: Believe WOTG
This colorful card is made with the papers and Santa stamp from CTMH's "Believe" WOTG. The tiny little reindeer across the top are the zip strip from one of the paper sheets (that small strip you have to cut off that doesn't match the rest of the paper). The sentiment is from the stamp set "Holiday Wishes." I colored Santa with copic markers. Outlining the white areas in the lightest of grays you have (C1 Cool Gray No. 1 for me) makes the white areas pop.
Monday, November 12, 2012
Christmas Card: Wonderland WOTG
This time I used the stamp set from the "Wonderland" WOTG. I paired it with CTMH's "Jingle" papers to make this cute thank you card. The cup and the steam have Stardust Glitz highlights. The card base is Slate cs.
Christmas Card: Heartfelt Tree
This is definitely a card that looks better in person. The tree is from CTMH's "Heartfelt Christmas" stamp set and the B&T paper is from "Wonderland." I stamped the tree in Juniper ink and added Liquid Pearls, CTMH's Stardust Glitz, and a small glittery bow. This is an easy but pretty card, and I'm continuing to use older stamps and paper from my stash!
Cricut Artiste: Mitten Tag
This cute mitten tag came together in minutes using my Cricut and CTMH's Cricut Artiste cartridge. I used the mitten and it's accompanying accent. The half snowflake on the cuff of the mitten is a separate Cricut shape from the same cartridge. All the "pearls" are Liquid Pearls.
Sunday, November 11, 2012
Christmas Cards: Using My Stash of Stamps
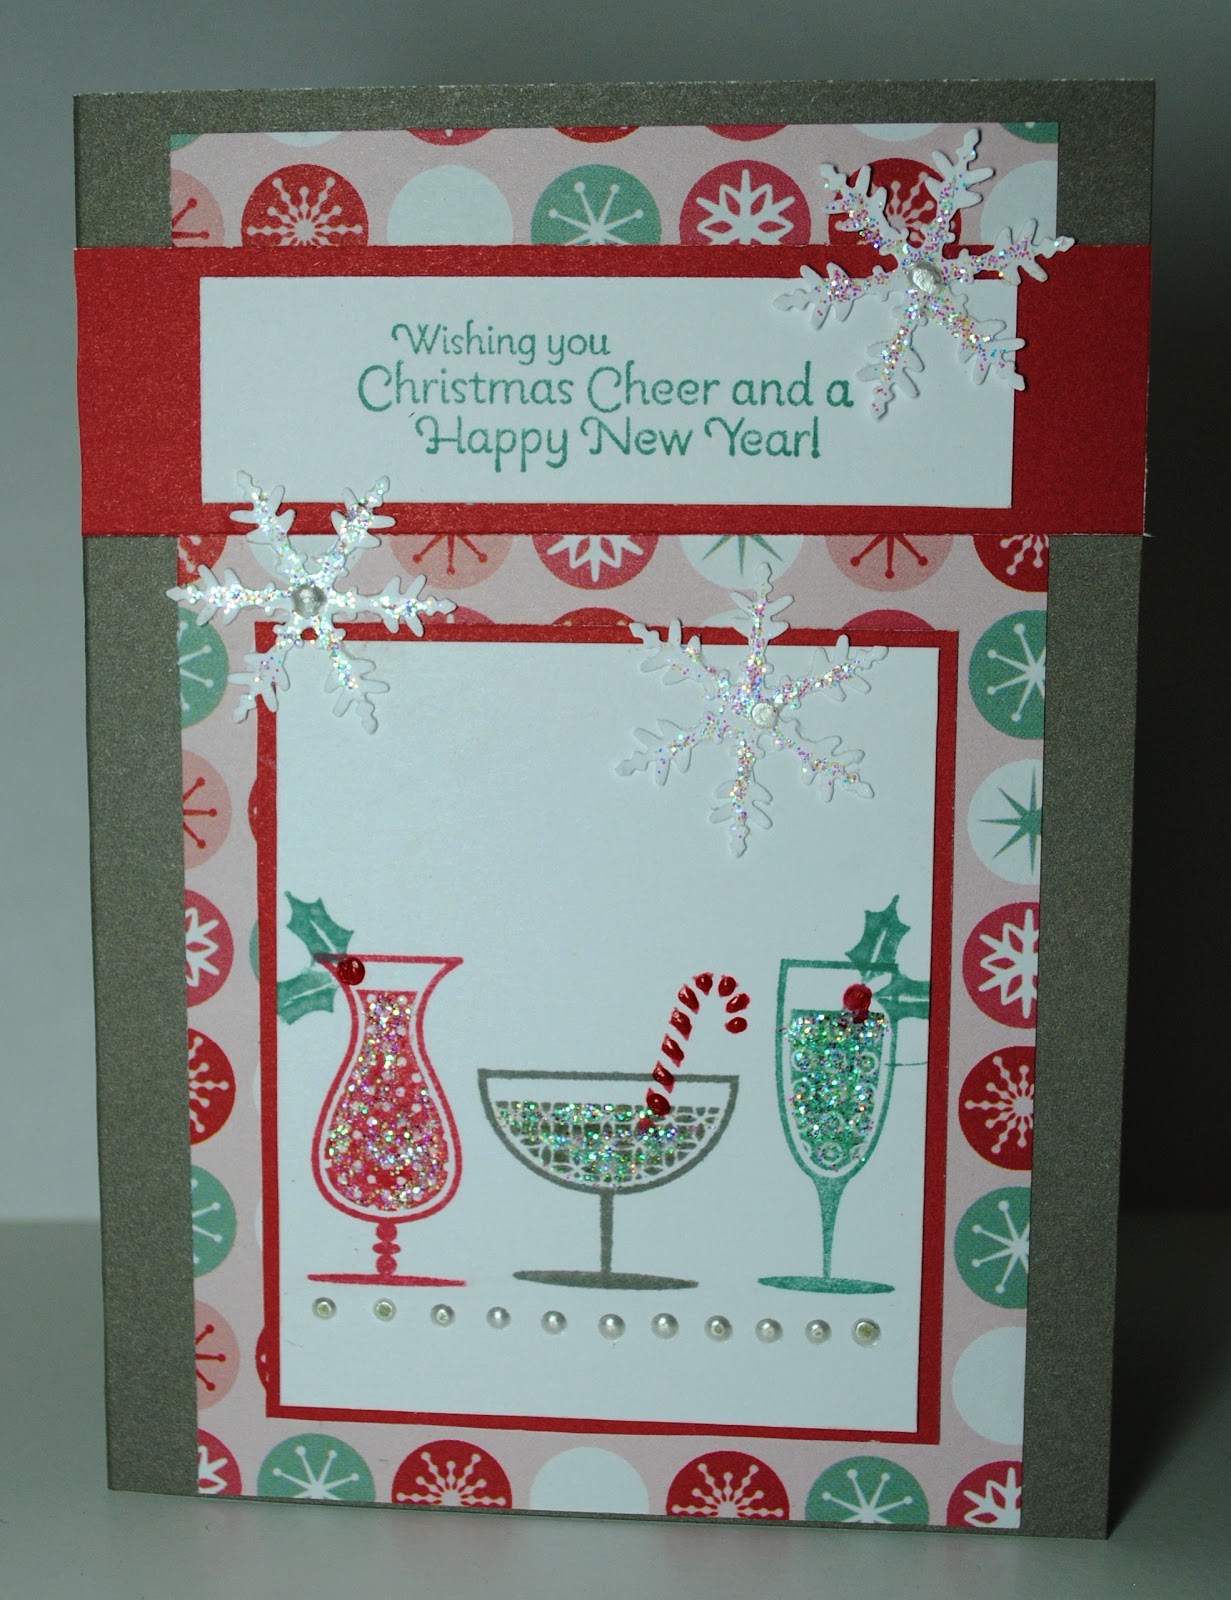
Christmas stamps are the best. I add to my stash every year and own way more than anyone would ever need. With no plan to stop buying new ones, I'm going to start USING more of them. Last year when the season was over, I had brand new sets still unused. So this year, I'm going to TRY to make at least one card with every Christmas set (that's set--not stamp) I own. Hopefully, that will mean a lot of blog posts too!
I'm not going to limit myself to CTMH stamps either. This stamp and sentiment is from SU, and I just added it to my collection. The set is called Happy Hour. I paired it with CTMH's "Jingle" papers from a few years back. (I'm going to try to use up some of my old paper stash too!). I used my new favorite--CTMH Slate cs (see my last post), some punched snowflakes, CTMH Starburst Glitz (the drinks & the snowflakes all sparkle), and Liquid Pearls.
Labels:
Christmas,
CTMH,
drinks,
Happy Hour,
Jingle,
Stampin' Up
Slate Cardstock: My New Favorite
I'm obsessed with CTMH's new Slate color. I love pairing it with White Daisy pigment ink. My pigment inks sit on the shelf for months, because they are kind of messy. If you stamp several cards at a time, however, you can let the ink dry on some while finishing the others. Here are several Christmas cards I made with Slate cs and White Daisy pigment ink.
All of the cards in this post use the flourish stamp from CTMH's "Love Life" set. The snowflakes are punches highlighted with CTMH's Stardust Glitz. The blue embellishments are adhesive bling, but all the pearl dots are Liquid Pearls, another new obsession. I'm too cheap to use that many little pearl embellishments to one card, but I have a whole bottle full of them in Liquid Pearls. I love the look of the White Daisy ink for the flourish. The trick is not to use too much ink. If the ink still doesn't dry fast enough for you, just use your heat tool to speed it up.
Same idea here, except I added a stamp from the "Pear & Partridge" WOTG. Another note about pigment ink: I never mess up my stamp cleaning pads with them. I wipe off the excess ink with a paper towel, and then take the stamps straight to the sink to rinse off the rest.
The snowman and sentiment on this card are from a new CTMH stamp set "Flakey Friends." I colored the snowman with copic markers and added some Stardust Glitz and matching baker's twine. Every shade of blue looks great with the grey and white combo.
I think this is my favorite of all the cards. It's pretty much the same as the first card above, but has the added punch and sentiment. The sentiment is from the "Pear & Partridge" WOTG. I love that set! You can order all the stamps, cardstock, Stardust Glitz, White Daisy pigment ink, and baker's twine used for these cards any time from my website: http://mollyrawls.ctmh.com
Saturday, November 10, 2012
Pear & Partridge Cardmaking
It's time to make Christmas cards. My Christmas card list varies arbitrarily every year depending solely on the number of cards I manage to make in time to send them out. Sometimes that number is less than ten. This year I have a good start, so maybe I should buy some stamps.
All the cards on this post start with CTMH's "Pear & Partridge" B&T papers. This first card also has a little bit from CTMH's "Mistletoe" papers. The snowflake is two punches layered. The stamp is one of my favorites for Christmas this year from CTMH. It's only available with the "Pear & Partridge" cardmaking workshop on the go. A paper-pieced the words "A Merry Little" in a different color and added some bling.
The flower here is made from punching five scalloped circles from the "Pear & Partridge" paper, folding each circle to form a petal, and gluing them in a circle. I faux stitched around the ruby paper, and stamped a branch from the "Flirty" workshop on the go. "Merry Christmas" is from the "Pear & Partridge" WOTG. The large pearl is a CTMH opaque, and the tiny pearls are actually dots of Liquid Pearls.
This is very similar to the last card, just a different layout, and I added a snowflake. to the center of the flower.
A combination of the first two cards.
I used the branch again from the "Flirty" WOTG, but this time I "hung" ornaments from the "Pear & Partridge" WOTG stamp. I added a red gem to each ornament and lots of Liquid Pearls to the branch.
Sunday, October 7, 2012
Fast Mini Album
This album went together in under an hour. I used CTMH's "Flirty" papers and coordinating compliments. If you want to put together a project quickly, using pre-coordinated paper and embellishments makes it super easy--everything will match.
Here are the inside pages: very simple.
I'll probably give this as a gift, so I left the theme simple. The title on the cover is "The Story of Today," and the inside pages say simply, "family," "home," and "happiness" so the book would work for baby girls, anniversaries, newlyweds, or just everyday happenings.
Each of the four pages has a tag insert for pictures or journaling. This picture shows three of the four tags out of their pockets.
And why does this mini album go together so quickly? Because here are the key supplies:
Ordinary No. 3 coin envelopes make up the pages, and the tags are classic shipping tags. Both of these are fairly cheap at the office supply store. And,
I learned the tags fit perfectly inside the coin envelopes. I bound the edge with my Zutter Bind-it-All. The album is so small (about 2.5" tall) that I was able to use one of my "scrap" pieces of binding wire edge--I knew I was keeping those scraps for something.
More Moonlight Cards
I made more Halloween cards with CTMH's "Moonlight" papers and the coordinating Workshop on the Go stamp set. I absolutely love how the mummy looks after some shading with my copics.
Here's a close-up of the first card. The mummy is popped up on dimensional adhesive. The spider web "banner" in the corner is actually a straight line of webs, but with CTMH's clear acrylic stamps, you can easily bed the stamps a little to create a curve when you mount them to the block for stamping. It's easy and works great.
The background of the images on this card is CTMH White Daisy cs. I used some Tim Holtz distress ink and applicator sponge to give it the dark, foggy look.
It's a little bit light in the picture, but I used multi-generation stamping on this card to make the mummy look more ghostlike. After inking the stamp up generously, I stamped the image to the far right. Then, without re-inking, I stamped the image directly to the left, then the third and the fourth, all without re-inking. It gives the feel of motion, and also looks a little spooky I think. In "stampers' terms" the first image after you ink is the first generation, the next is second generation, then third generation, etc. I only colored (with copics) the first generation image to make it really stand out.
Saturday, October 6, 2012
Halloween & Mojo Monday Challenge
I have lots of cute Halloween papers & stamps. I buy more every year, and I seldom use them! This year I decided to actually send some Halloween cards, and I've really enjoyed making them. This card is loosely based on the MoJo Monday 261 card sketch challenge. I used CTMH's new Halloween papers, "Moonlight." The stamps are from CTMH's stamp set that is exclusive to the "Moonlight" Workshop on the Go. I just love that little mummy. I added some shading to the mummy and the streetlight with my copics. The mummy is attached with dimensional adhesive, and so is the "Beware" sign that I pieced from the lamp stamp. The flower, leaves, and flower center are all CTMH as well. The papers are are sloppily distressed with black ink for a spooky look.
Sunday, September 30, 2012
Fairy Garden
I've seen similar Fairy Gardens on Pinterest and have been wanting to make one. I was in a shop in Des Moines' East Village that sold everything I still needed, so I put one together Saturday morning. It took about 10 minutes. I purchased the plants, the two moss-covered stones, the bridge, the patio set, and the blue stones for the brook. I already had the dirt, container, and other decorations.
There's a little architectural element behind the seating area that's an antique keyhole cover.
The garden is decorated for fall right now.
There's a bridge over the brook with penny stepping stones leading the way to it, and a solar lantern to light the way.
A comedian living in my house put this Polly Pocket in the chair sometime last night. ha. ha.
Saturday, September 22, 2012
Flying Typewriter Birthday Card

I made this card for a friend's daughter's birthday who loves old books. All the paper is from CTMH's new Scholastic paper pack. The typewriter and mini clip are from SU, but the wings and black bling flourish are from CTMH.
I forgot to take a picture of it until I got to work, so it's a little fuzzy because it's off my phone, but I think it turned out great, and I'm planning to make some more flying typewriters.
Sunday, September 16, 2012
Flowers & Tags
I found some new flower-making techniques online and made some examples on tags this weekend. My Christmas gifts are going to be fancy...if I actually use my tags. I'll try to get some tutorials for these posted soon.
Subscribe to:
Posts (Atom)