Welcome to My Blog!

Hi! Thanks for visiting! If you have a blog or other favorite website you'd like me to check out, let me know! And, please, comment on my posts--I'd like to hear from you.
--Ms. Molly


Showing posts with label copic. Show all posts

Saturday, September 9, 2017

Doodling!

My Latest Obsession . . . .

Do I need another hobby? another artwork obsession I don't have time for? something else to buy supplies to add to my stashes and stashes of supplies? Nope, not even a little bit, but I have one, and it's doodling. To be fair this hobby can leak over into my art journaling, bullet journaling, scrapbooking, cardmaking, and all my papercrafting, so I can justifying it that way.
 
I've always enjoyed doodling but didn't think I was very good at it. I got somewhat better after taking Dyan Reaveley's classes at Memorybound, my LSS in Ankeny, Iowa, last year. But a few weeks ago, I bought these two books:
Doodle Art and Lettering with Joanne Sharpe and The Art of Drawing Dangles by Olivia A. Kneibler
 
I think I got the Doodle Art book at Memorybound and the Dangle book at Michaels. They're both available on Amazon, but please try to support your LSS if it carries them.
 
(Warning side rant)Please do support your local scrapbook stores/local art stores, etc. I have to buy some supplies from the big box stores and online too, but when possible, I try to support local. I love the classes, examples of products, and attention you can only get from a local store. Most products they don't carry, they can order for me and no extra charge. And many LSS have frequent customer programs, coupons, and coupon matching that really make them price competitive. (End of Rant.)
 
Back to my doodling obsession: I've started trying to doodle something every day, whether it's in my dot journal or my sketchbook.
 
Here's some practice doodling:
I left the back of the page to the left in the photo on purpose. I use a very cheap sketchbook I picked up in the school supplies sale at Walgreens. Many of the pens bleed through to the back and even to the front of the next page, especially if you're filling in an image or going over a line multiple times. I only use every other page, and then I go through later when everything is dry and tear out the unusable sheets.  If this were fancy paper, I'd use the miscellaneous markings for some kind of art journaling, but this book was so cheap, there's no need.
 
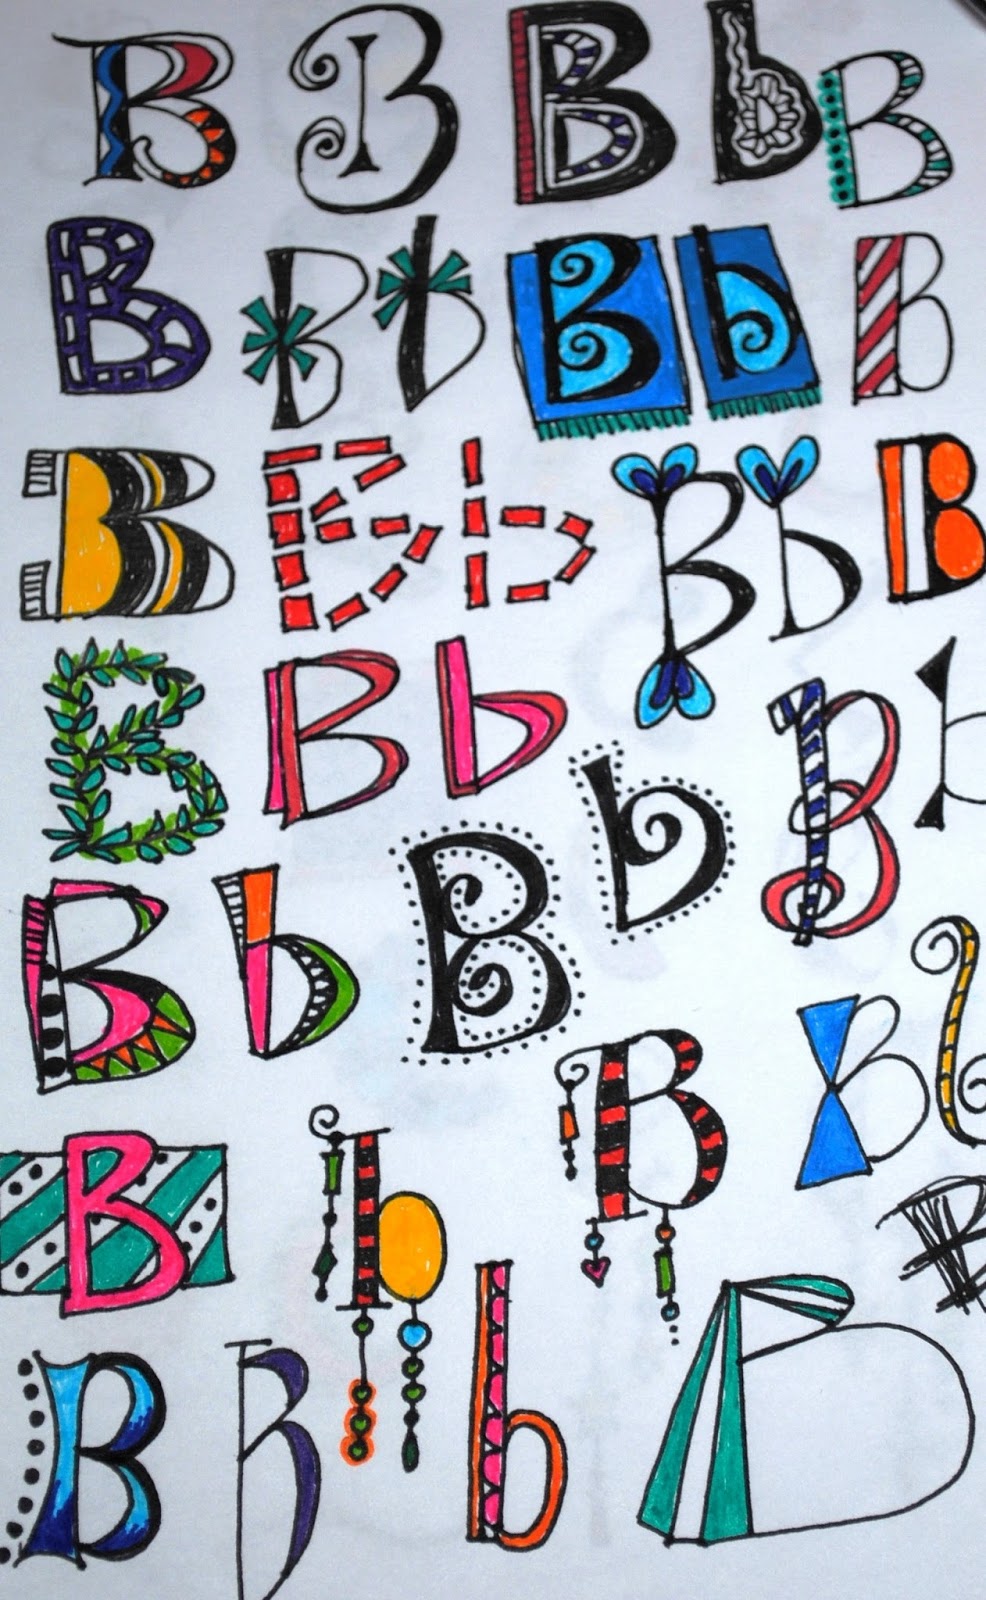
 One of the exercises I'm trying to complete is a page for each letter of the alphabet.  Here are examples. I'm up to the letter I.


Here's a line of dangles. I basically copied this straight from the book, so don't think I'm too creative.
 
 
And here are a couple pictures I made. Again, I got the main ideas/pictures from the doodling book, but I made some changes to make them my own.
  
 
This picture taught me how to make sand, which sounds easy, but I wasn't very good at it before this. I really like the way the sun turned out on this one too, and I'm also pleased with the red flowers in the tree. I don't know that you would see those red flowers at the beach, but who cares?
 
Another beach picture--all my favorites of anything always seem to be beach related.
 
I'm proud of how the waves turned out on this beach doodle.
 
Even before I started doodling, but especially now, I'm always asked what pens I use. The answer is I use all the pens and I want all the pens! But since I can't have all the pens, here are some I've been using for doodling.
 
Copic markers, Dylusions Paint Pens, Sharpies, Staedtler markers, uni-,ball, Faber-Castell, etc. I mostly use the Staedtler pens in my dot journal, but I have used them some in doodling.
 
Some of my favorites are the Ranger Dylusions line paint pens by Dyan Reaveley. The colors are bright, and I love how the paint flows from them. I have the colors and the black and white. Here they are up close:
 
And, of course, my other favorites are my collection of Copic markers. I use the Copic Sketch markers with the chisel tip on one end and the brush on the other. I store them incorrectly in an upright position in a utensil carrier. Because I only use the brush ends, I haven't had any trouble storing them this way, brush-side down.
 
 
I'll try to post more doodling pictures soon. 
As always, thank you so much for following my blog. Comments are welcome! (I do screen them to avoid spammers, so they won't appear on my blog right away.)

Saturday, May 30, 2015

Everything Is Better with a Friend Birthday Card

I pretty much love everything about this card, if I do say so myself. I even like the photograph. And, everything IS better with a friend.
 

Again, I was thrifty and used scrap paper! The stamp is from the Girlfriends line by Art Impressions titled "Laughing." The sentiment is from CTMH's "Better with a Friend" stamp set.
Both the image and sentiment are matted in black cs, and I used a miscellaneous flower and some bling from my stash.
 
I used Copics to color the ladies and the open areas in the word "friend."
One thing I like to do when coloring with Copics, which was probably taught to me at my first Copic class, is to outline everything in light grey. I use C1 Cool Grey. It gives the image a little depth. Also, the pool of grey color around their feet grounds them so they aren't hanging in the air.

Sunday, January 27, 2013

Happily Ever After Wedding Card

What a horrible picture.  If I wasn't so lazy, I'd do a re-take, but that would cut into my crafting time, so nope.  The castle in the background is a wood mount from Whipper Snapper Designs called "Princiess Village."  I used CTMH watercolor pencils to color it and added some Stickles to the flags.  Yesterday at my LSS I found the stamp of the princess and knight ("Good Knight Kiss") from Stampendous for 50% off, and I knew it would go perfect with the castle stamp.  I colored it with Copics, embellished it with CTMH's Glitz Glitter Gel, and attached it with dimensional adhesive.  In real life, the knight & princess area really pops because it's colored in brighter colors and is raised while the background castle is more muted.  I also added a few little flowers from Recollections to the flowers already in the castle image.  I added Liquid Pearls to the stamped and paper flowers to tie them together.  The fairy tale-like sentiment comes from an old CTMH stamp set "Soul Mates."  I would keep this set forever for this sentiment alone.  I use it on A LOT of wedding cards.
This isn't where I got my inspiration for the card, but after I was done, the card reminded me of this recent photo of Neal & Jess from Vegas outside the Excalibur:
...and they lived happily ever after

Wednesday, November 28, 2012

Christmas Greetings Cards

These cards are both made with CTMH's "Christmas Greetings" stamp set.  I colored the images with Copics, and on the card below, added some Stardust Glitz.  Both cards are pretty simple and self-explanatory.  You can barely see it in the pictures, but when I color images with Copic markers, I almost always outline the image in C1, Cool Grey No. 1.  I think it really makes the images pop. 
 

Thursday, November 15, 2012

Christmas Card: Snow Friends

I used my old CTMH "Jingle" paper again.  I love this paper.  I don't know why I have so much left!  The stamp set is one of my favorites from when I first started selling/using CTMH, "Snow Friends."  I tore strips of white cs to make the snow drifts and highlighted them with Stardust Glitz.  The snowman and birds are colored with copics.  I used my BG10 Cool Shadow copic to make the barely blue shadow on the snowman.  The sentiment is from the "Perfect Fit Holiday" stamp set.

Tuesday, November 13, 2012

Christmas Card: Believe WOTG

This colorful card is made with the papers and Santa stamp from CTMH's "Believe" WOTG.  The tiny little reindeer across the top are the zip strip from one of the paper sheets (that small strip you have to cut off that doesn't match the rest of the paper).  The sentiment is from the stamp set "Holiday Wishes."  I colored Santa with copic markers.  Outlining the white areas in the lightest of grays you have (C1 Cool Gray No. 1 for me) makes the white areas pop.

Sunday, August 5, 2012

Baby Gift Toppers


I made both these gift toppers for gifts for my niece Heather's baby shower today.  The top tag has a flower made from strips of folded and layered B&T paper.  On the little 3.5" x 3.5" gift card, I stamped a hibiscus from CTMH's "Extreme Happiness" stamp set, then cut out and added a little baby stamped from CTMH's "Playday" stamp set.  The baby is colored with copic markers and attached with dimensional adhesive.

Tuesday, February 1, 2011

Cat card

This cat card was made with all old product I had sitting around my crafting studio.  The cats and fish stamps were all from an old, foam stamp set.  I colored the cats with my copics.  Meow.

Saturday, January 8, 2011

Beach Card

This card has a lot going on in it--maybe too much.  The background B&T paper is from CTMH's "Moon Doggie" paper set, and the blue cs is CTMH's retired Star Spangled Blue.  The stitching along the right of the blue paper is fake.  I embossed a line from the back (so the raised line was on the front), sanded the line, then punched holes along the "stitched" line.  Awesome, huh?  I learned it from Tresa Black's blog.  The beach scene and writing are a stamp from Art Impressions.  I colored it with my Copic markers.  (Not sure if I made that a sunrise or sunset!)  The flower is from CTMH.  Not sure where the flip flops came from, but they were buttons, and I removed the shanks.  Finally, there's a length of Tim Holtz's tissue tape across the bottom.

Sunday, October 17, 2010

Put the Lime in the Coconut

This stamp set is from Unity Stamp Co., and I colored it with copic markers.  The upper right and lower left have corners of sparkles.