Carta Bella "A Very Merry Christmas"
 |
| The finished album |
A few weeks ago I purchased the Carta Bella "A Very Merry Christmas" Collection Kit, 6x6 Paper Pad, and Ephemera Cardstock Pieces:

All together, it probably cost me a little over $25. With it I made a mini album (sold already for $50), 16 cards, and 9 tags! I also have three full pages left that I'm saving for two scrapbook layouts and an advent project. I've also got about a half sheet at least of matching stickers. The lesson here is that you can spend a lot of money on creative supplies, but if you're smart, you can make them go a long way.
This post is going to focus on the mini album, but here's a sneak peak of the cards and tags. I'll do separate posts on those soon.

Getting Started:
Here's how the book looked before I worked on it:


A very sturdy cardboard plain craft-look book. Not including the front and back covers, it contains six pages. I mistakenly threw away the packaging, but the back of the book has an indented watermark that looks like this:


So, it's a Memory Hardware book by Prima, and the size is roughly 6.5 x 7 inches.
I used a bunch of stuff I had on hand. Without going into too much detail, especially because you can find embellishments from your own stash of materials, here are my main "ingredients."

Ink: Wendy Vecchi Tea Rose Archival Ink by Ranger. Every single page and paper is edged in this pinkish-red ink. I applied it with a Tim Holtz round dauber by Ranger.
And the rest....

Here's a little more detail on some of the items:
These punches:

Includes punches from Martha Stewart (icicle & evergreen bough), Stampin' Up (scallop edge), Paper Shapers (heart), The Paper Studio (heart), ek success (tag & snowflake).
These embellishments (some I know are discontinued):

All CTMH--easily substituted with other products or left off entirely.
These Tim Holtz Idea-ology items:

Tinsel & Holiday Flashcards (not the 2017 flashcards)
And these stamps:

Stampers Anonymous (worn grid) Inkadinkadoo (polka dots), Stampabilities (snowflakes), and Our Daily Bread Designs (O Christmas Tree). Any and all of these could also be substituted with other stamps you already own.
Ribbon: I didn't list any of the assorted ribbons and strings I used (aside from the Tim Holtz tinsel) because they were all scraps I had around and any ribbons will do.
Ready to Create:
(This is how my work area looked most of the time. I'm sure it would be more efficient if I worked tidier, but I just don't think that's going to happen.)

The front cover:

The front cover is paper: A back layer(red with snowflakes) and then a smaller layer (ornaments) with the punched scalloped edge attached.
The flower is made from the Tim Holtz die Tattered Flowers. First I stamped cardstock with a music background, then cut the flowers, put them together, and inked the edges. It was too puffy? tall? 3D? at first, so I smashed it down with the palm of my hand. I added the two little mini pieces of paper from the right and top to draw the eye in, and embellished with several red and silver sparkles. I tucked a couple pieces from the evergreen punch under the flower.
The Tim Holtz die:

(one of his best dies ever, in my opinion)
Pages 1 & 2
The first two pages:

Page one has a pocket and tag for either a tiny picture or journaling.
I included a to/from tag so the album can be given as a gift:
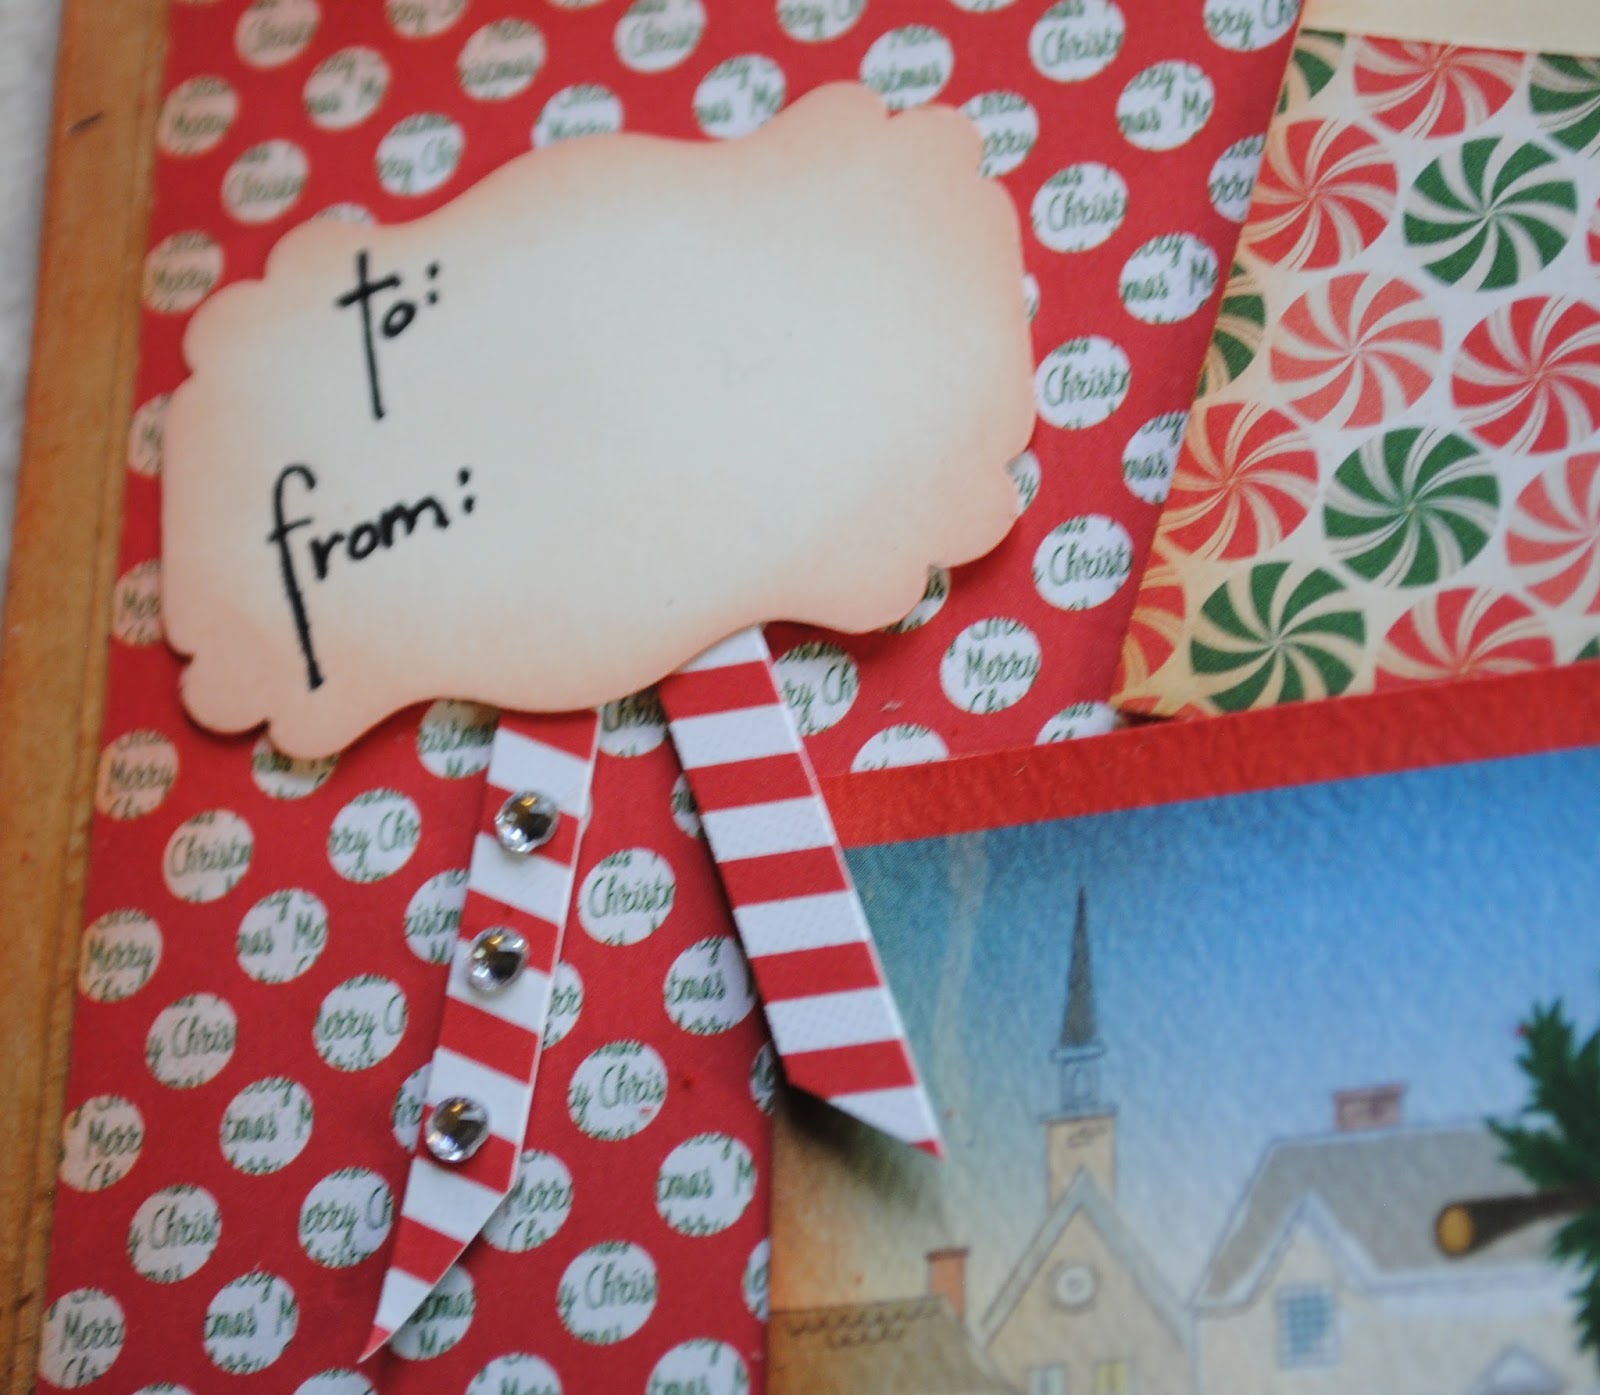
I hand wrote the "to: from:" and added little tails of paper to look like ribbon, along with three sparkles.
The second page is mainly for a photo, so there's lots of empty space. I also loved this paper sheet, and didn't want to mess with it.

But I did stick on some little sequins to give it some dimension.
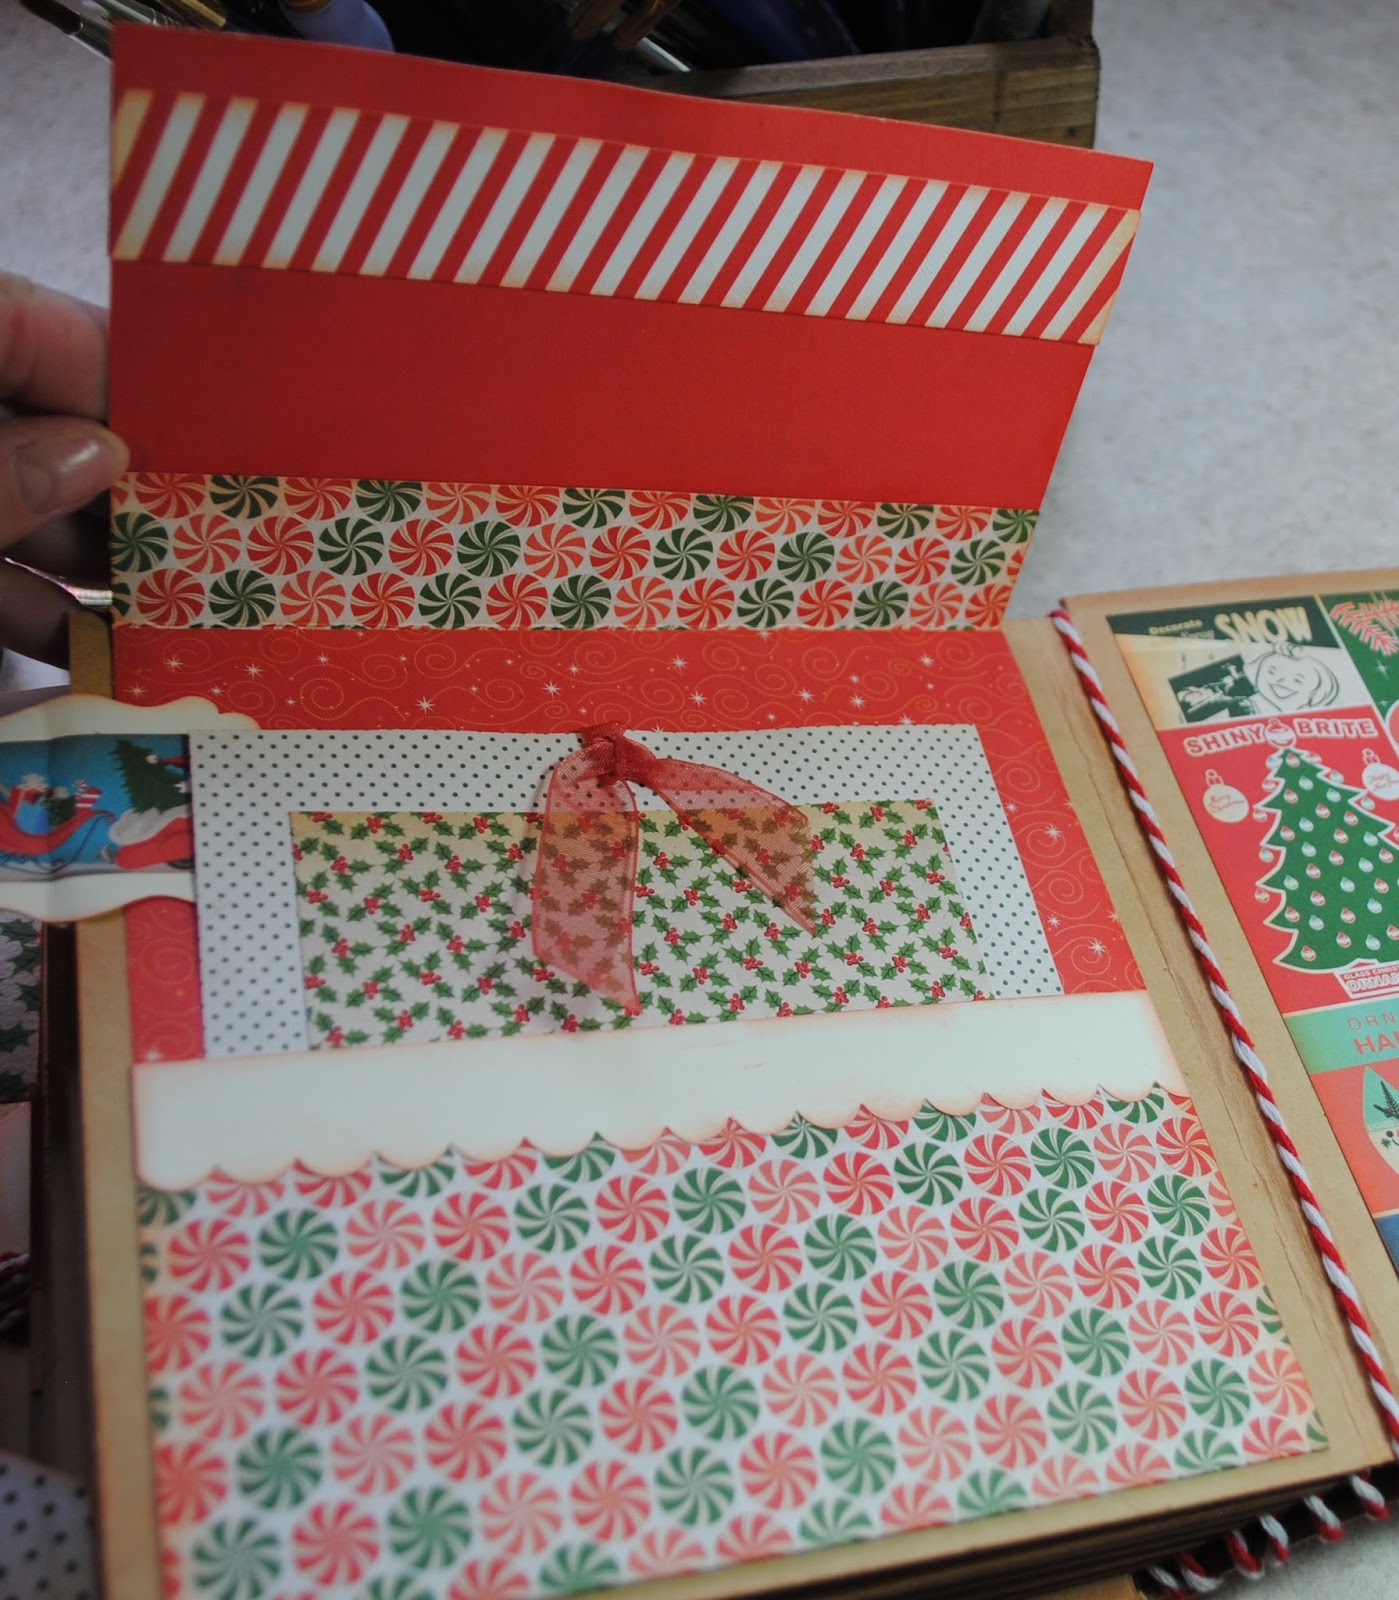
Pages 3 & 4

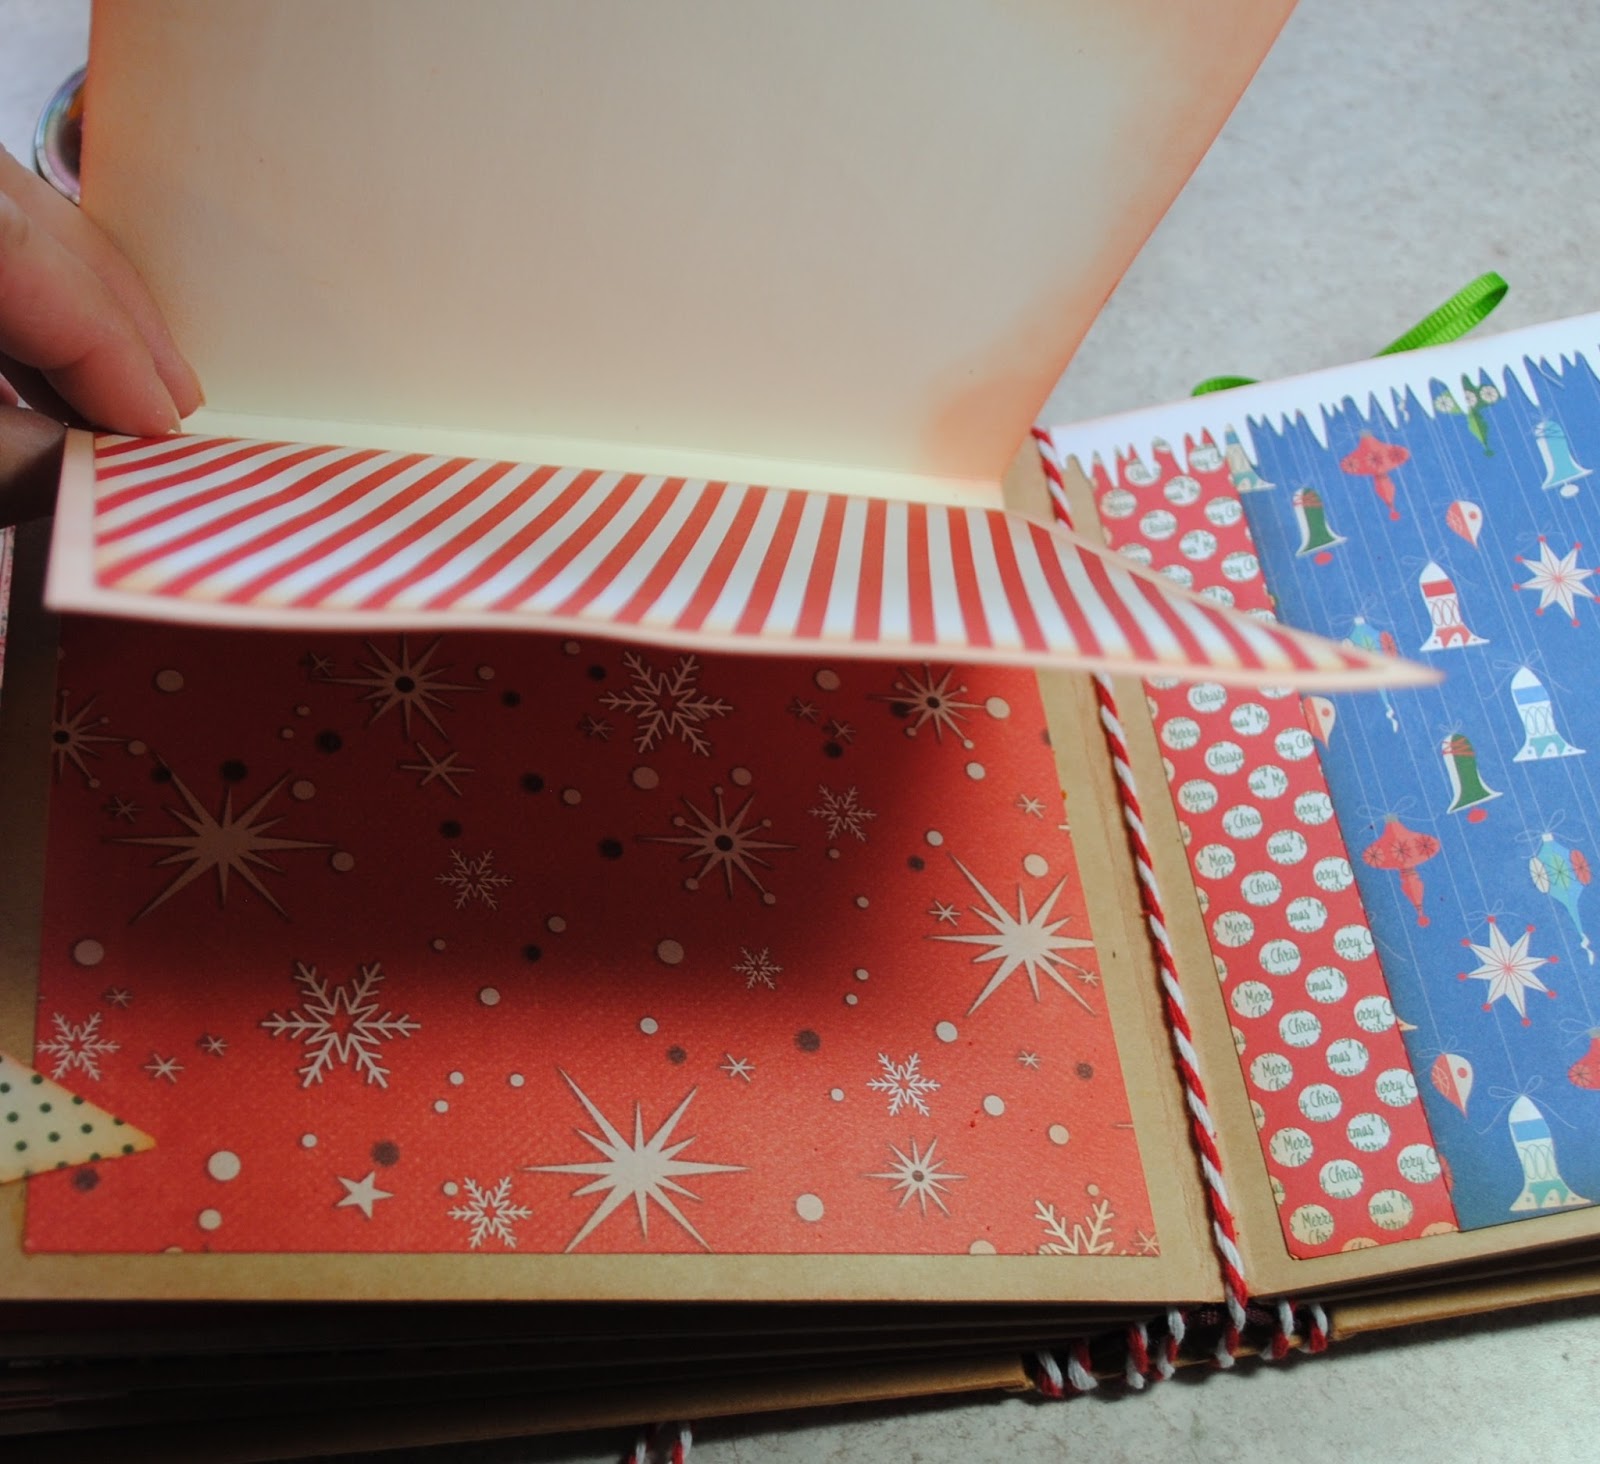
Page 3 has a slot left unadhered for a tag on the left side for journaling or small pic.

When inserted The tag & ribbon also serve as the tab for that page. You can see the tab for the next page on the far bottom right of the picture of the two-page layout. It's simply a folded piece of paper with one of the stickers on it.
I stuck a CTMH plastic round window disc over the round embellishment on the top left of the page. I'm sure no one still has these old things but me, and this could be left off completely, or you could cover the candles in CTMH Liquid Glass or Ranger's Glossy Accents so get a similar look
The "Joy" tag is stuck on with raised adhesive, and the whole area opens.


Plenty of room inside for a photo on the right, and there's a Santa sticker on the left. I don't usually use/like stickers in my projects. In addition to edging all the papers in ink, I also inked the edges of stickers to tone them down a little so they would look less "sticker-like."
The right side has a pocked and two tabs for journaling & a picture:

Pages 5 & 6

On page 5 you can see the back of the page tab, which has another sticker on it. The little "Jolly Skater" holds back an accordion-folded hidden element.
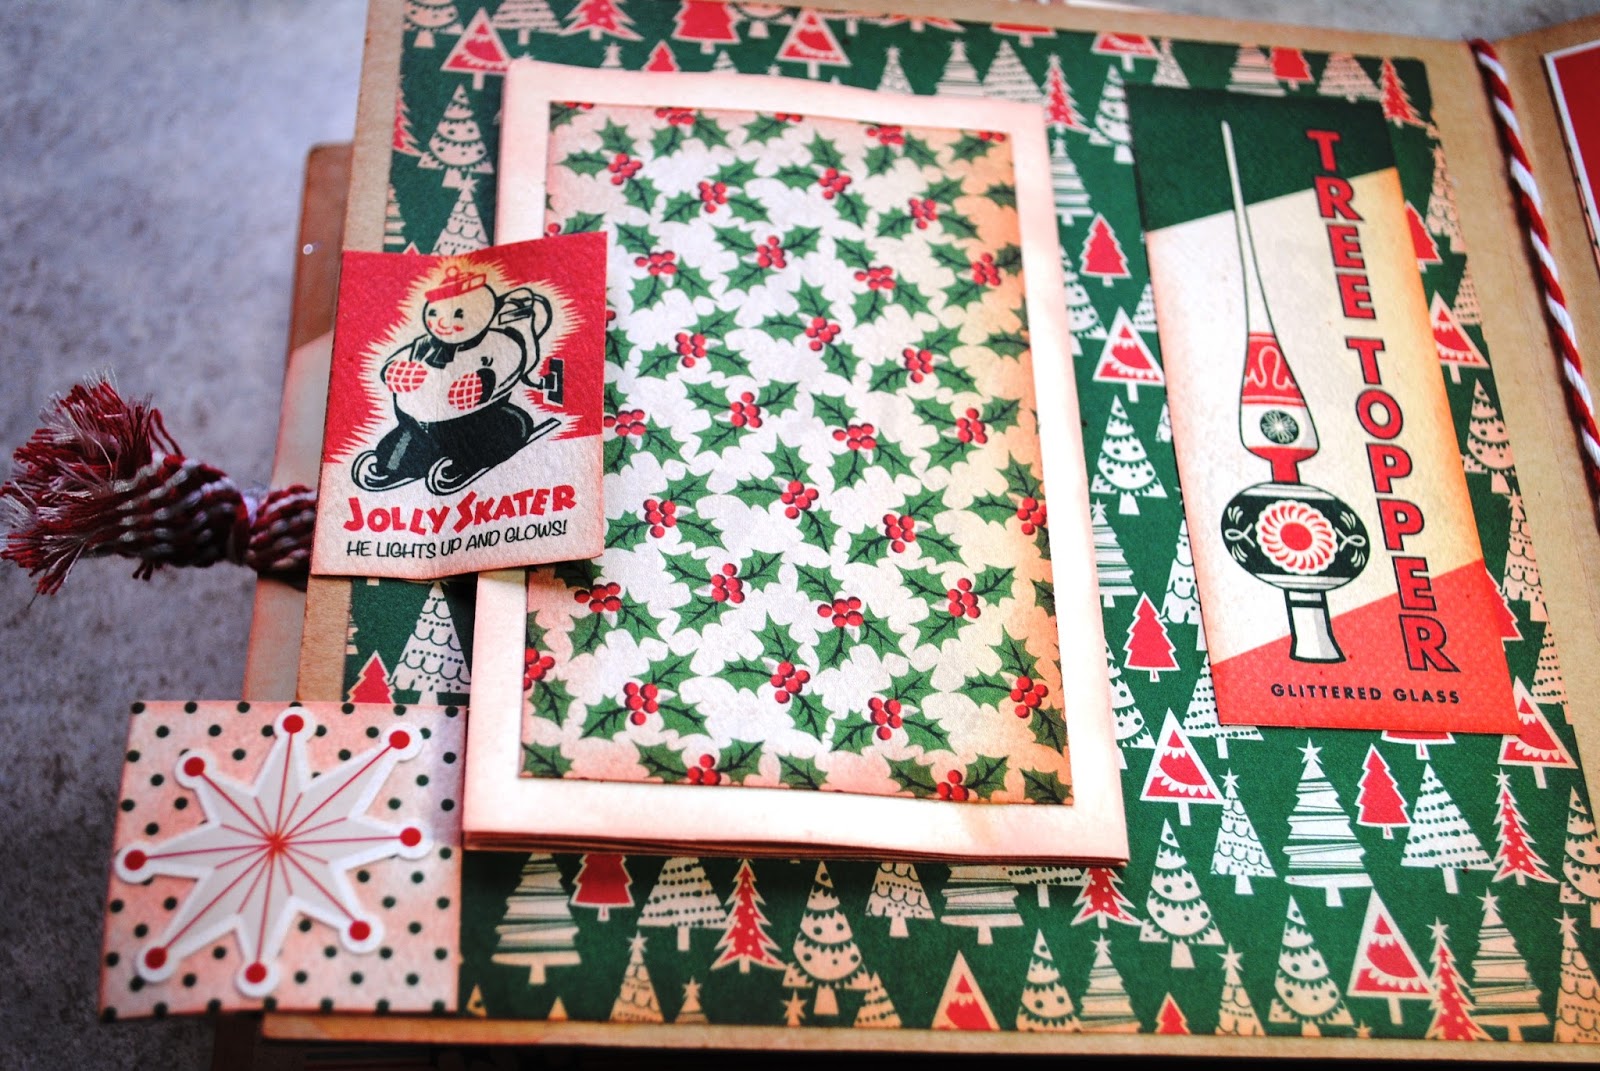
Here's one side of the accordion fold--lots of room for photos or journaling.

And here's the other side with more places to personalize it:

Page 6 has the mistake that bothers me the most:

I forgot to edge with red ink around the "25" banner stickers! I'm sure no one will notice, but it still irritates me every time I look at it. This page also has a mini envelope and tag.
Speaking of tags, I cut some of my own tags and I used some purchased tags:
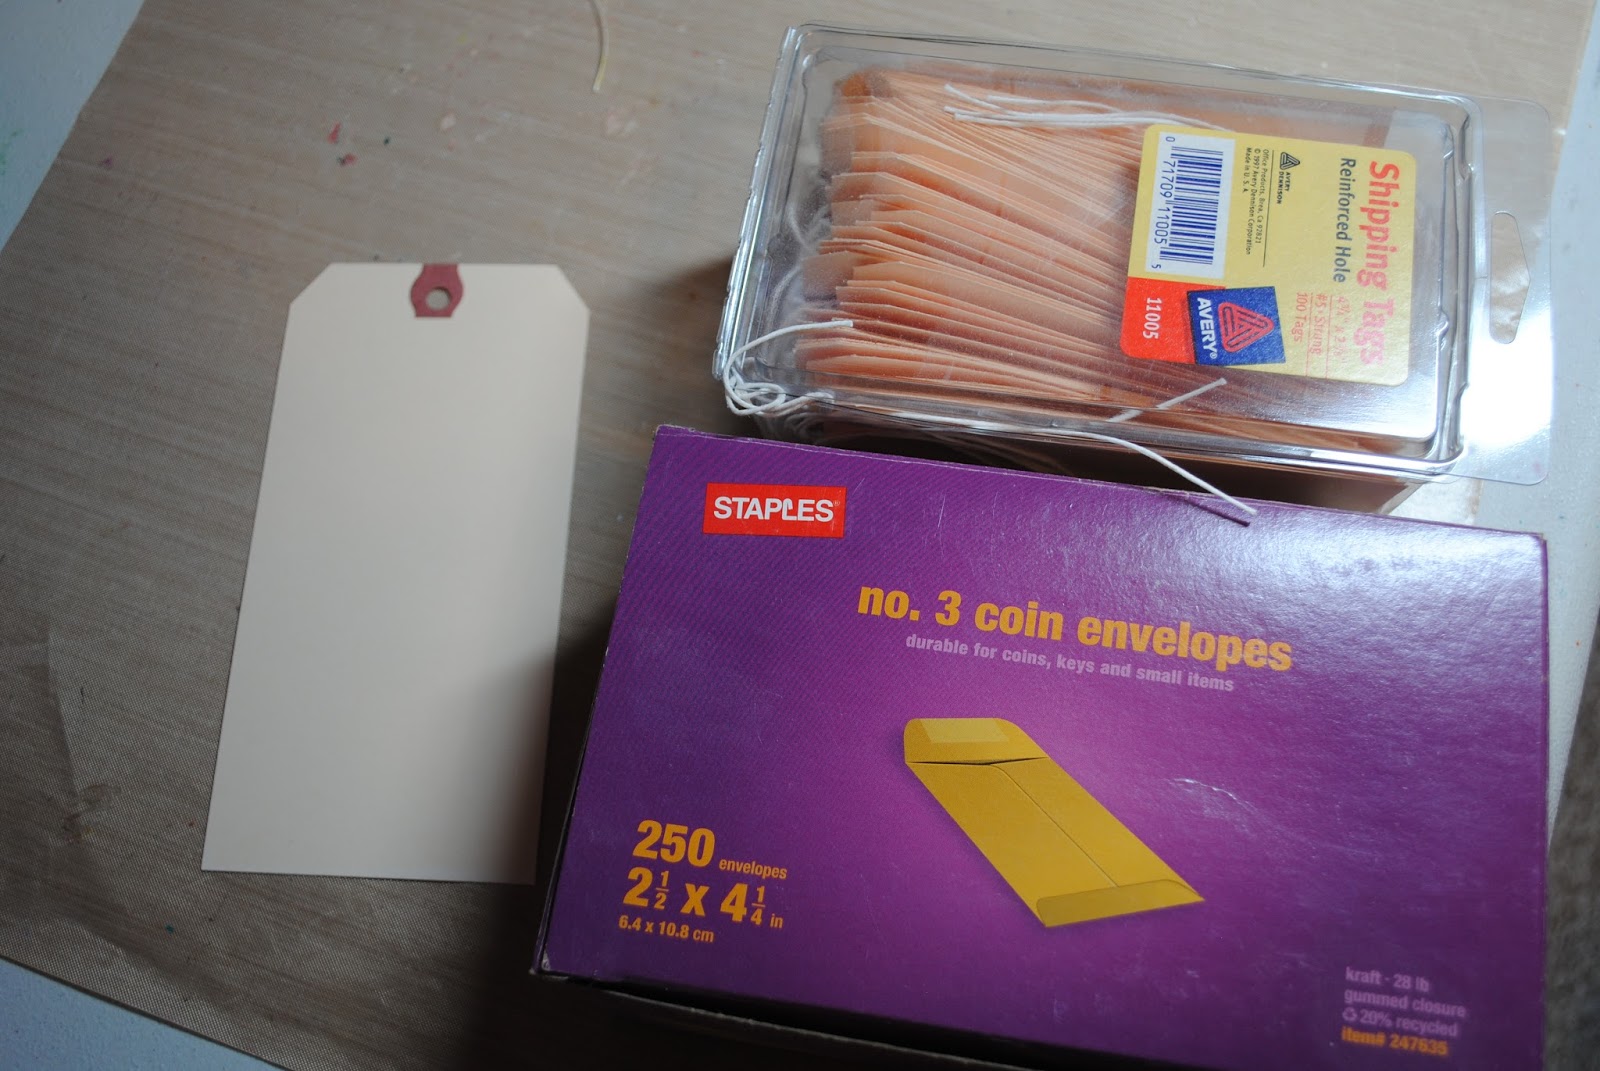
Did you know that (No. 5) 4 3/4" x 2 3/8" shipping tags fit perfectly into (No. 3) 2 1/2" x 4 1/4" coin envelopes? This makes for a very easy element to add.
Pages 7 & 8
I guess I forgot to take a picture of pages 7 & 8 together--oops!
Lots of tinsel going on page 7.

And the tag has its own tag hanging off the wrapped tinsel.
Page 8 features a lady dancing with Santa and a punched heart page tab wrapped in baker's twine.

The dancing panel is attached with raised adhesive.
You can open up the page to the left:

Revealing a journaling tag on the left and a mat for a pic on the right.
Then the right side opens up to the right:

Revealing even more places for holiday photos.

This picture is an attempt to show how it opens left and then right.
Pages 9 & 10

Page 9 has a waterfall feature for lots of notes and photos:


(from the side)
To balance with the busy, bulky page 9, page 10 is pretty plain, with only two different papers and an upper border of punched icicles. The page tab is a Tim Holtz Holiday Flash Card. page 11 has a different flash card glued to the back of it.

Pages 11 & 12
Page 11 has some pretty busy paper as a background, so I didn't want to add much. You can see the reverse side of the page tag--cheer. And I added some sparkle toward the bottom of the page.

Page 12 has a lot going on:

The ruffle at the top of the pocket is only paper folded to look like a ruffle with a piece of black ribbon across the top. The candy jar is a sticker.
The flower(?) is a long piece of paper with one edge scallop punched. The paper is accordion folded and then curved around so the ends meet to form a round shape. The snowflake center is a punch, and there's a small sparkle embellishment in the middle.

There's an assortment of hand-cut tags tucked in the pocket.

Pages 13 & 14
The last two pages of the album:

Page 13 has a flap that lifts to reveal a tag pocket:
Room for another large photo.
I didn't take a picture of the last page (14) evidently. But you can see from the picture of the two-page layout above, it's only a piece of one of the busiest papers, which can either be left as-is as a final page, or a large mat for a final holiday photo.
Finishing Up:
The back cover has a paper piece with some lines out of Twas the Night Before Christmas:

I used some really thick baker's twine and wrapped a single, long piece around the spine at every page--you can see them it on some of the photos above.

Then I tied all the strands together near the top of the spine, leaving long tails.

In the pictures above and below, you can see how chunky the album turned out to be. I LOVE a chunky book with bits and pieces sticking out. I like to put the page tabs on just so they'll stick out beyond the pages & cover of the book.

And here's another look at the finished project. You can see I added some red jingle bells to the string tails on the spine.

I received a lot of positive feedback about this book (it sold immediately), and I'm going to try to do some more using the same types of pages. Really, once you make one and figure out the different elements for the pages (pockets, tags, etc.) the following album(s) come together much more quickly.
Thanks for reading this LONG post. If I've left off any important instructions, please ask me to elaborate in the comments. I hope you make your own Christmas mini album to help hold all your holiday memories!
This is awesome
ReplyDeleteThanks Jessica! I may be putting it up for sale soon if I get my etsy store up and running. In the meantime, please keep visiting my blog. I'm going to attempt to be more active with posting my creations.
DeleteHi Ms. Molly, This album is gorgeous! I've been looking for inspiration for using the A Very Merry Christmas Collection from Carta Bella when I came across your blog. I'm having a hard time figuring out what to do with some of the 12 x 12 papers because a few of them are more like 12 x 12 illustrations than patterned paper. I noticed that this was one of your last posts. I'm assuming life got in the way of blogging, as it tends to do. Whatever you're up to these days, I hope you are well and enjoying life and are able to continue to enjoy playing with paper! :)
ReplyDeleteIf you want more of this collection, I was able to find the DIGITAL version of it. If you have access to a decent colour printer, you can print off as many copies of the papers and accents as your heart desires! http://www.snapclicksupply.com/digital-products/a-very-merry-christmas-mega-collection/
DeleteThank you for your kind comment on my album! I have been a slacker blogger the last couple years. It's a pre-New Year's resolution to get back into it. I've still been working on a lot of projects, just not photographing them and and blogging them. I miss it, because I go back and refer to my own projects sometimes when I need inspiration! I've added a couple new posts lately. I hope you stop back by my blog and follow me! I'll try to do better!!!
DeleteI wish I would have seen this idea before I allowed people to bully me into tossing things like this. This is an amazing post.
ReplyDelete