Welcome to My Blog!

Hi! Thanks for visiting! If you have a blog or other favorite website you'd like me to check out, let me know! And, please, comment on my posts--I'd like to hear from you.
--Ms. Molly


Wednesday, March 11, 2015

Easter Cards from Antique Postcards

A couple last cards I'll have for sale at Spring City Vintage in Colfax this Saturday.  Two Easter cards made with pieces from antique postcards. Surprisingly, Easter used to be a big holiday for sending cards. Now, not so much. We'll see if I have any interested buyers.

Tuesday, March 10, 2015

Collage Card from Antique Postcards

Another card pieced together from antique postcards. This time I used the back of a card so you could see the postmark--1911!!! I added some pieced cut from other postcards and a Happy Birthday sentiment also from an old postcard. This is another card I'll be putting up for sale at Spring City Vintage in Colfax, which is open this Saturday, March 14.
 

Monday, March 9, 2015

Everyday Eats and Treats Blog!

(Second Post Today--Please scroll down to see my first post.)

A brand new blog for everyone to check out: Everyday Eats and Treats by Heather Torpy. Heather is my niece and although she's a new blogger, she's been writing freelance columns periodically for the Des Moines Register for several years. She mainly focuses on food and craft ideas anyone can make, with little training or special supplies. So far, Everyday Eats and Treats only includes links to some of her recent Des Moines Register articles, but I look for it to increase in content soon. Take a look and give her a comment to welcome her to the blogging world.

If for some reason my links above don't work for you, Heather's blog can be found at everydayeatsandtreats.blogspot.com

More Cards from Antique Postcards

I made a few more cards to sell in Spring City Vintage in Colfax from antique postcards and other ephemera.  Here's a closer look:

I scanned this old snapshot into my computer and printed it larger for the card. It really scanned well. I'm sure I'll be using this "hula girl" often.

I scanned and enlarged this photo too, but it came from an antique postcard. It makes a great friendship card.

Monday, February 9, 2015

Hurricane Recipe: Get Ready for Mardi Gras!

Fat Tuesday is next Tuesday, February 17. I've been known to enjoy a hurricane or two from time to time, and there's no doubt Pat O'Brien's in the French Quarter has them perfected.  But, if you can't get one of these:
 
At this place: 
 
Then here's the closest recipe I've ever had to the original at Pat O's:
 
1 (12 oz.) bottle of Grenadine
9 oz. light (silver) Rum
9 oz. dark (gold) Rum
9 oz. Orange Juice
9 oz. Pineapple Juice
3 oz. Triple Sec
3 oz. Lime Juice
 
Mix all the ingredients and serve over ice.  Garnish with an orange and a maraschino cherry.
 
You don't need to use top-shelf rum, but don't skimp too much either. Caution: These are strong, but taste line fruit punch. A little goes a long way. One batch is enough for a gathering, and I suggest you serve them in small cups or glasses--not large hurricane glasses. That's too much unless you're stumbling down Bourbon Street. 
Happy Mardi Gras!

Monday, February 2, 2015

poppin

So, I just bought this thing.  What do you think it is?

Scrubber? No. Scalp Massager? Nope. Art? Not Really.


It's really bendy.  (I'm glad my nails looked nice for these pictures.)

The brand is "poppin," and I got it at the office supply store (Staples).


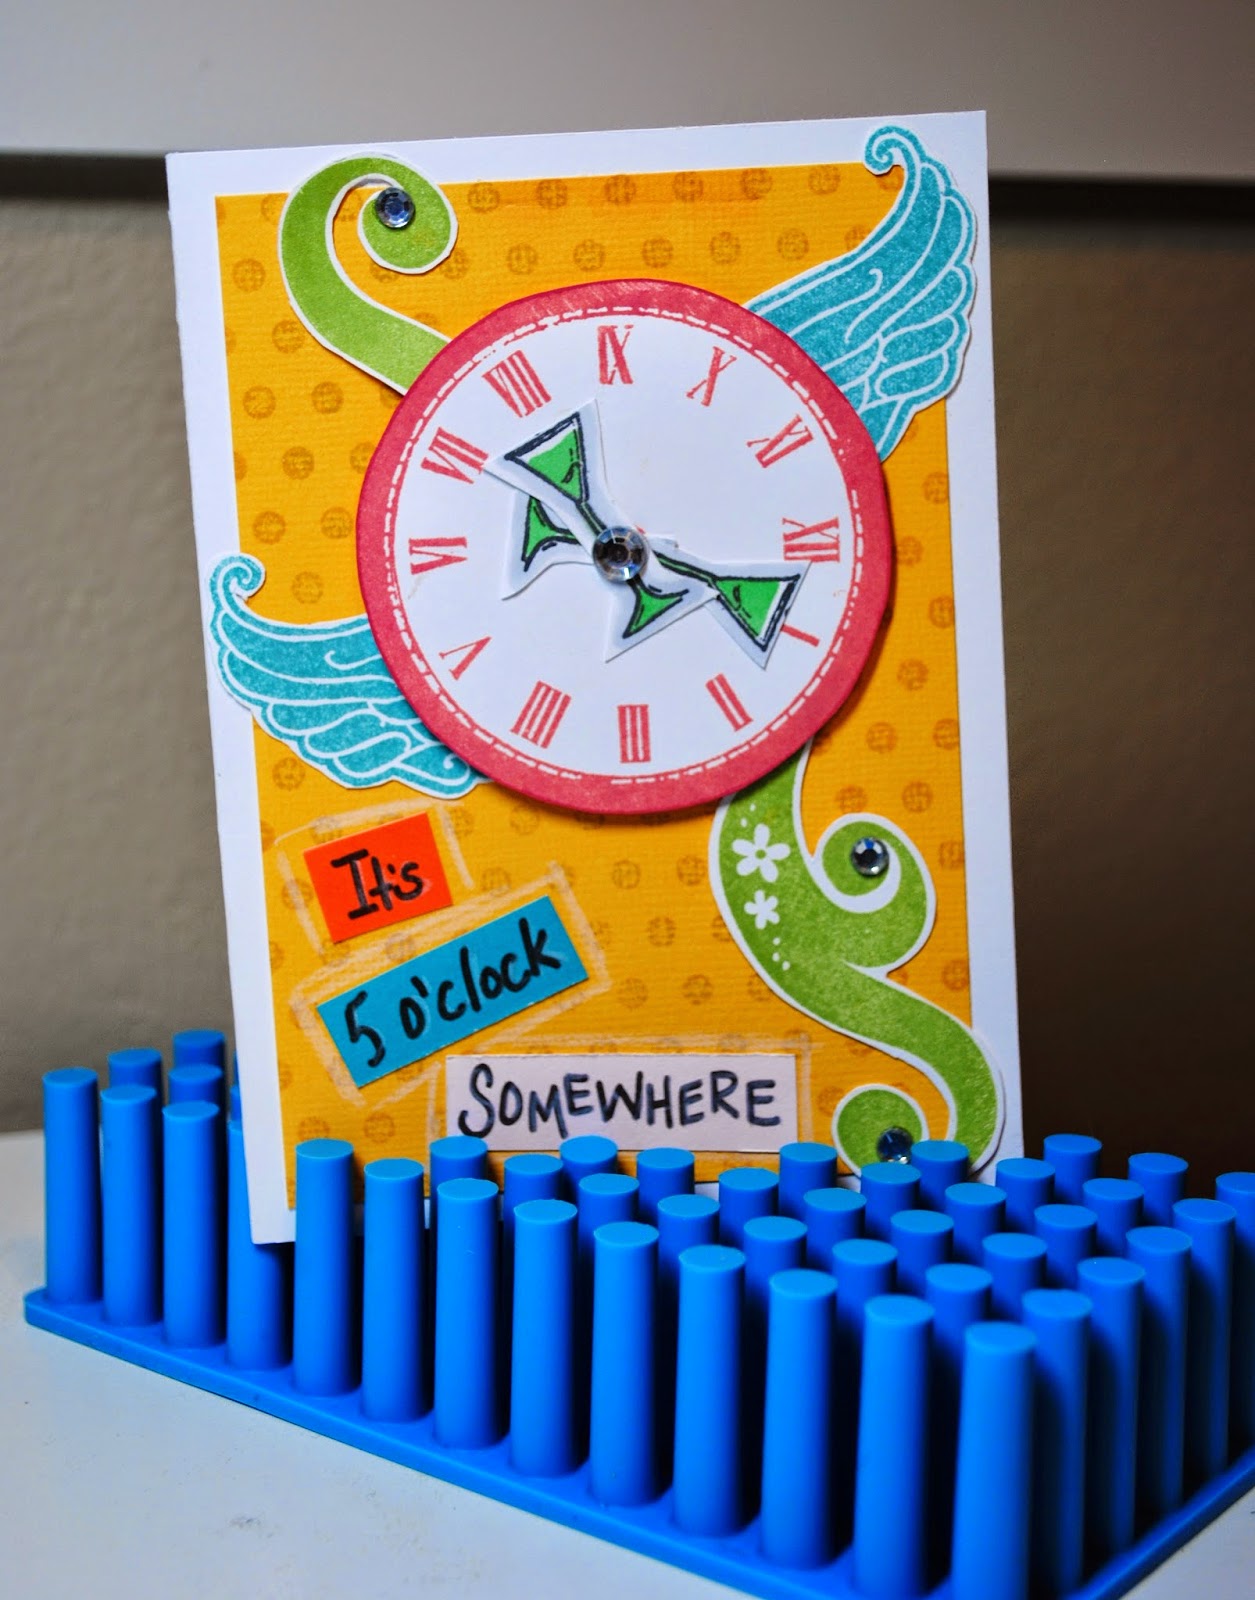
And it holds cards or other projects for photographing!


Actually, it's a desk accessory for holding business cards, notes, envelopes, etc., but it works great for my cards. It's so flexible you can manipulate the rubber to hold the card without damaging the card, something I have to be careful of when using my antique frogs for the same purpose.

I still love my antique frogs, and I'll keep using them for more vintage-looking cards, but I think the poppin holder will work great for a more modern look. I might need some more colors.

My antique frogs, which are actually made to be put in the bottom of a container
for flower arranging: they hold the stems in place.

Sunday, February 1, 2015

Mojo Monday Challenge 382

Second Post Today! (Please scroll down to see my first post with cards made from vintage postcard elements.)
 
The snow has me being very crafty today, so I participated in this week's Mojo Monday Challenge.
 
The challenge was to make a tall & skinny card using the following sketch as inspiration:
 
Here's what I came up with:
I went with a card 3.75" x 8.5" that fits into a standard business envelope.  The papers are from CTMH's "Lollydoodle" paper pack.  The bird is "Cha Cha" from Whipper Snapper Designs. "Happy Birthday" is the CTMH stamp "Heartfelt Birthday Wish." The bird and sentiment are both colored with Copics, and I added sparkles to the bird's feathers and the left side of the white oval.  The ribbon (which I should have straightened before I took the picture) was from my stash.
 

More Vintage

More cards made from pieces of antique postcards:
 
 
Individual Shots:
The background stamps are B&T paper, the front stamp is antique.

A rare yellow-themed card from me. The scene is from an antique postcard.

I like the masculine feel of this card.


The postmark on this card is 1902!


This might be my favorite of the bunch. The postcard in the background's postmark shows up really well, and I like the scene in the picture in the foreground--also from an antique postcard.

I like the monochromatic theme of this one.

All of these cards will be available for purchase at Spring City Vintage in Colfax, Iowa, on February 14, along with the Valentines in my last post.


Saturday, January 31, 2015

Vintage Valentines

We're expecting some significant snow in Iowa tonight and tomorrow, so I'm declaring it a creative weekend.  First up, I needed to make some Valentines and cards for a new shop I'm selling in: Spring City Vintage in Colfax.  It's an occasional store, meaning it's only open one Saturday per month and by appointment.  We have more and more of these types of shops opening up.  It keeps overhead low for a specialty shop, and customers really pour in on those days the stores are open.  Anyway, Spring City Vintage's date this month happens to coincide with Valentine's Day, so I made some vintage Valentines:

 
And some close-up shots.  The Valentines are from around 1963 and belonged to a friend of mine. 


These cards, and more, will be on sale at Spring City Village on February 14.
 

Thursday, January 1, 2015

A Happy New Year!!!

Highlight of 2014:  This little guy wins for sure: 
 
Mr. Finn was born in late October and is our first grandchild.  We can't get enough of him!  Having his parents move back to central Iowa from Seattle was pretty awesome too!  And our trips:  Key West, Florida, & Wisconsin.  Plus, Tom went to Germany!  What a year.
 
Resolutions for 2015:  As always:  Blog more (if you're a long-time follower, you've seen this one before), create more, eat better, read more, travel more, save more (travel more and save more just don't work well together!), and just plain ENJOY more.
       I did cross off a couple of my to-dos already today.  I finished my Christmas thank yous (see previous blog post from today) and I updated my Goodreads account.  Also, I already finished my book for a bookclub I might or might not participate in. 
       I'm off to a great start!  I hope to finish some old projects and start (and hopefully finish) some new ones too.  The next item on the list is to create some new things with vintage postcards, and I'm going to get started on that right now. 

Best Wishes to You for a Happy 2015!

Don't Forget Your Thank-Yous!

Even a simple handmade thank you is better than none!  I had to make a lot, so I kept them easy.  This is just a CTMH Whisper cs card with a punched and raised Outdoor Denim cs square stamped with a few snowflakes in CTMH White Daisy pigment ink.  Let's face it, most of our thank yous end up in the trash after the season anyway, right?  A well-written thank you note on the inside is the most important part of this card.

Monday, November 24, 2014

Glittery Canvas Ornaments

 
Christmas is a perfect time to use and overuse glitter!  The inspiration for this ornament came from Beth Quinn.  I saw an ornament she made on Pinterest that had the same sentiment and lots of glitter.  Our ornaments are quite different (hers is fancier for sure), but I believe in giving credit where it's due, so to see Beth's 2010 blog post with her ornament, click HERE.  Thank you for the inspiration, Beth!
 
I made my little glittery ornament, which is far prettier in person, using a tiny 2" x 2" canvas from Michael's.  First I covered it in gesso.
Then I added a snowflake to the corner and trimmed off the excess.
 
I covered the whole thing in gel medium.
 
Then, with my finger,
I dappled on modeling cream all over the canvas, leaving some areas raised, and creating basically a lumpy surface.  I used a shimmering champagne color that's more cream than the yellow it looks like in my photos.
 
Then, probably because my hands were so messy, I quit taking photos.  My next step was adding lots of big, course glitter.  I used Twinklets Diamond Dust.  I added a layer of Modge Podge (the classic clear glossy kind) on top.  Then I printed and cut out the words "She Loves Christmas" individually.  I adhered the words with Modge Podge, then added just a little bit of ultra fine iridescent silvery white glitter. I coated the whole thing again with Modge Podge.  In between most of these steps, I used my heat tool to speed up the drying process. 
 
Here's the finished look, up close:
The snowflake just barely shows through all the glitter and modeling paste.
 
On the back I added the date with my date stamp.  I spread a layer of Modge Podge, attached a piece of ribbon for the hanger, and added just a bit more glitter.  Lastly, I covered the back with one final coating of Modge Podge.
 
 
I'm probably going to make several versions of these ornaments, and maybe some beachy ones too.

Sunday, November 23, 2014

Advent Ornaments / Sour Cream Containers Tutorial

It's Christmas time! Well, maybe not quite yet, but we had our family Thanksgiving today, so I feel like the Christmas season is here.  And, if the stores are any indication, the Christmas season started before Halloween.  I absolutely love Christmas crafting and decorating, and what better way to start both than with a set of advent ornaments?  You still have time to make these super-easy "sour cream" container advent ornaments before December.  Here's my finished set:
 
I made these with paper scraps from my stash of Christmas papers and CTMH's stamp set "Magical Days," a set of numbers 1-25 perfect for Christmas advents.  You can order your set HERE, which is a link to the set on my online store, http://mollyrawls.ctmh.com
 
Here are some of the ornaments close-up:

 
Each has a little treat--candy or a little cash hidden inside.
 
This container is actually a pretty old paper crafting pattern that I've seen around for years.  I've already done a blog entry with the tutorial, which is HERE, but I've taken some new pictures, so I'll repeat it.  I call it a sour cream container because that's what it looks like.
 
Start with a 4" x 6" piece of paper.  These are great for using up scraps!
 
Add adhesive to the back of the short end of the paper:
I like to use Scor-Tape two-sided tape, because it holds really well, but you could use anything that works best for you.
 
Roll the paper into a tube and adhere the short ends together.
It looks basically like a toilet paper tube.
 
Crease one end flat and adhere it shut.
 
This is important:  Once one end is shut, that's the time to insert your filler: candy, money, a small toy, or whatever fits.  After you close the other end, you have to rip it to open it.
 
After the container is full, fold the open end in the opposite direction that the other end and adhere it shut.
So one of the flat ends will run vertically, and the other horizontally.
 
You could be done here, but....
 
I take it another step and crimp both ends a little.  If you have a paper crimper gathering dust, get it out--finally a reason to use it!
Just a few turns on both ends gives a really finished look.
 
Here it is all ready for decorating:
 
 I liked using lots of all different Christmas scraps, but I think a basket full of matching containers would be gorgeous.
 
  Since mine are going to be ornaments, I punched a hole and added ribbon:
I used scraps of ribbon and some pretty cheap ribbons too, because I know to get to the goodies inside, the container will be torn and tossed away.
 
One last look at some of mine:  
 
These came together pretty quickly--you still have time!!!